Though this is a simple first, the tailwind documentation seems to be a round about way of doing this. so thought I can share what may be simple step to start using tailwind especially for beginners. No frills to waste our time!
1 – Create the React Project
Most of us prefer typescript as we want to ensure typechecking alongside coding. The below command creates a react project in folder ‘my-tailwind-app’
npx create-react-app my-tailwind-app --template typescript
(or)npm create vite@latest for using vite and follow the steps
change directory by using ‘cd my-tailwind-app’ folder
2 – Tailwind
Install tailwind using command prompt in the same my-tailwind-app folder.npm install -D tailwindcss postcss autoprefixer
Run the command to initialize tailwind inside the projectnpx tailwindcss init -p
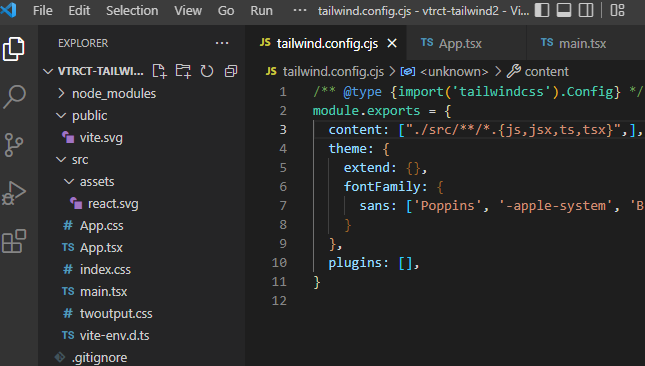
3 – Add support for js,ts in tailwind config
Open VSCode or any other editor and add content to use “./src/**/*.{js,jsx,ts,tsx}” in tailwind.config.js as below
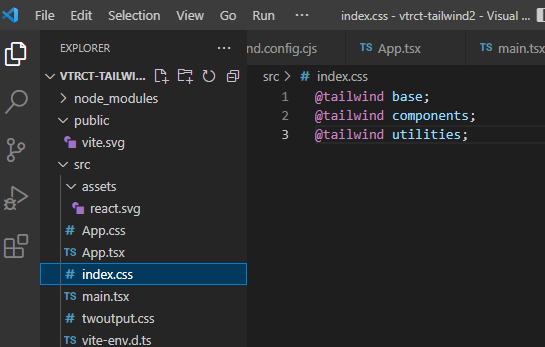
- add the below directives to index.css
@tailwind base;
@tailwind components;
@tailwind utilities;
Run the project
Run using ‘npm start’ for the project created with create-react-app or ‘npm run dev’ for the project created with vite and view the results on browser